Recently my grandmother told her friend, “I’m looking forward to an afternoon of knitting.” Her friend responded that she doesn’t know how to do anything like that. My grandmother is …

Start typing to search
Find posts, pages, and products across your site.
No results found
Try different keywords or check your spelling.
Charlotte Mason science and nature study curriculum for homeschool families.
Charlotte Mason science and nature study curriculum for homeschool families.
Charlotte Mason science and nature study curriculum for homeschool families.
Recently my grandmother told her friend, “I’m looking forward to an afternoon of knitting.” Her friend responded that she doesn’t know how to do anything like that. My grandmother is …

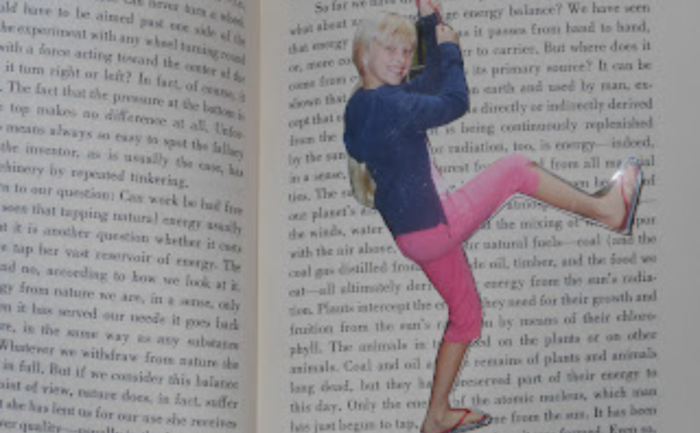
Every year we have one co-op handicraft that is just plain crafty. This year I chose bleach pen t-shirts. I had seen some neat ones, but then during Christmas break …

Mitchell starting a fire. We’ve done a lot of handicrafts. A lot! I’m tempted to start listing them all off for you, but then my perfectionist side would take over, …

This week we were very excited to make a Christmas wreath using whatever natural material we could find on our nature walks. I had high hopes, but I am even …

After reading Ann Voskamp’s post Why November is Statistically the Hardest Month, I decided a Thanksgiving Tree was in order. I am a true procrastinator, so typically I would not get …
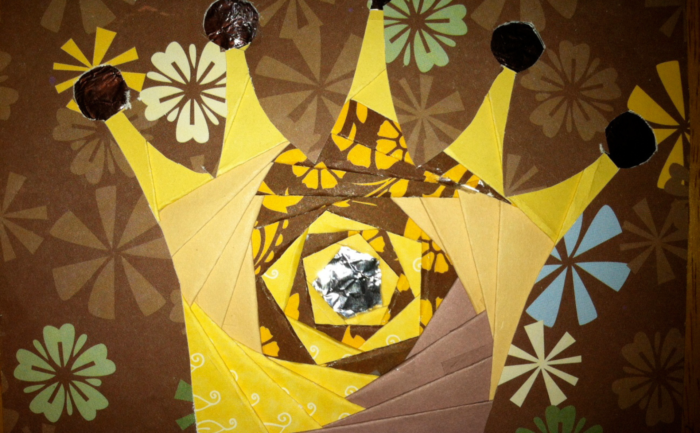
I have changed the name of these wonderful little bookmarks, but just look at them and you will agree that the name fits. They are bookmarks that look as though …
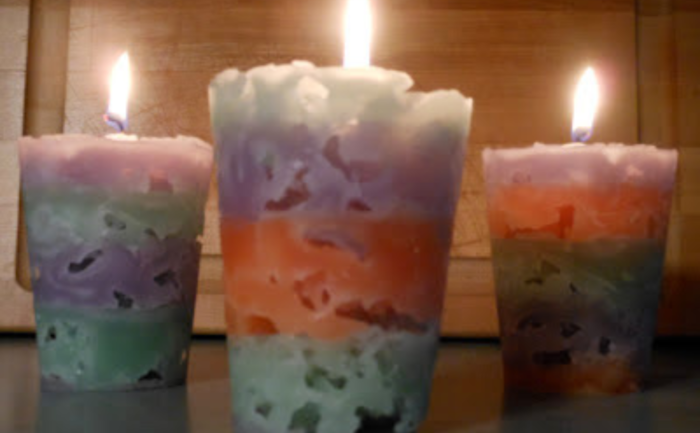
We continued with our theme of Christmas gifts the students can make at our Charlotte Mason co-op yesterday, and it was a hit! I would highly recommend you make these. They are …
This year I will again be leading the handicraft portion of our Charlotte Mason co-op. In the past we have done this in various ways, either doing a different project …